Table of Contents
Inspiration For Making a DIY Holiday Banner
I love decorating.
But I am not made out of money.
Which sucks.
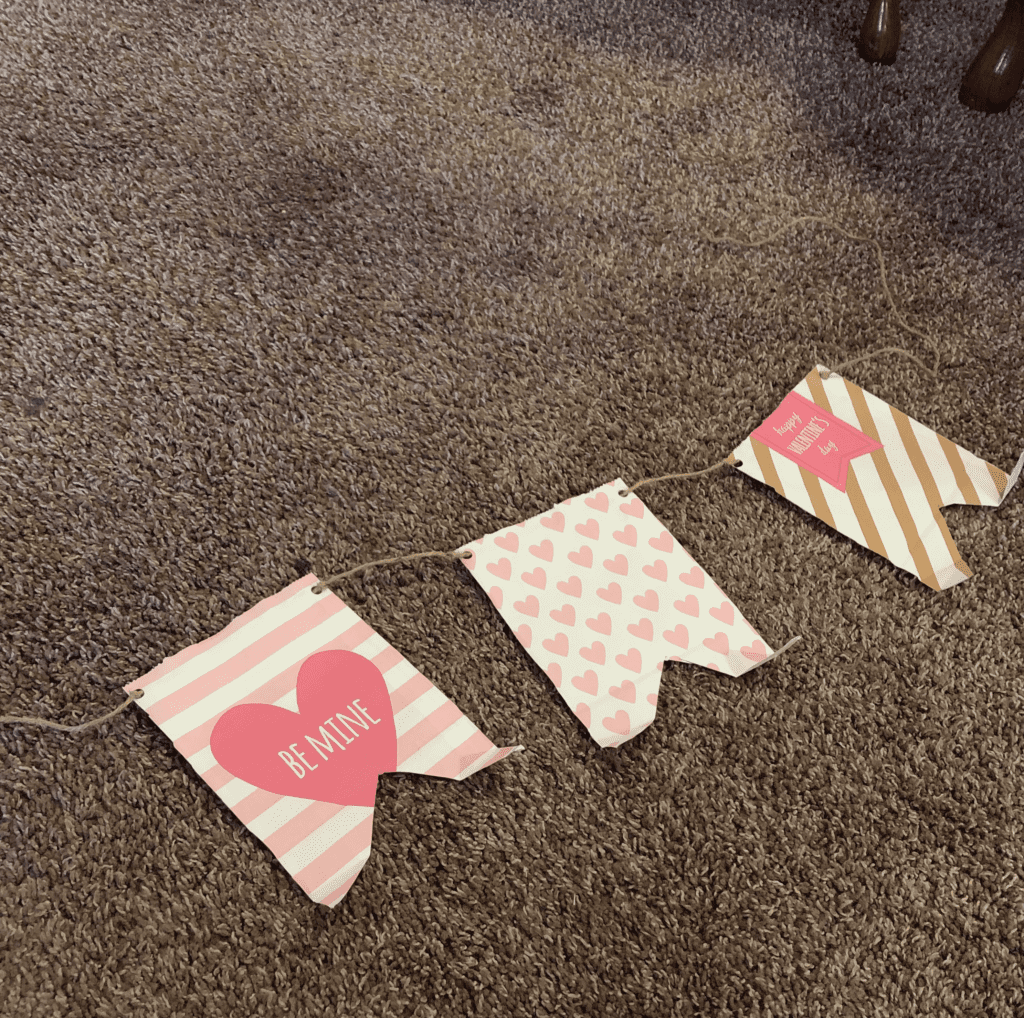
I wanted all the cute decor I saw at Target and local boutiques, so I found a way to make my own with my limited budget. So, I went scouring through Pinterest, I found a tutorial that showed how to make a DIY holiday banner using gift bags, but it wasn’t exactly what I wanted. I wanted something that looked like I bought it at a store (if you didn’t look too close).
If you haven’t subscribed to my email list you can sign up here. Once you sign up you can get a freebie printable and also stay up to date on my latest posts.

Here is what you’ll need to make the DIY holiday banner:
1 set of 3 for $ 1-holiday gift bag (Dollar Tree) here is a link for one on Amazon that is similar

Twine (also Dollar Tree) below is a link for one on Amazon

Scissors
Hole Punch
Instructions:
- You are going to cut along the fold lines of the gift bag including the bottom and also cut off the handles. Once you’re done it’ll be two separate pieces of paper.
- You then are going to cut at a 45 degree angle from each bottom corner of the paper towards the middle. You can go up however much you want. I did it just enough to make an isosceles triangle. Pro tip: cut all 6 pieces of paper at once so it is as even as possible

- After you are done cutting you are going to punch holes at the top corners of the paper as close to the edge as possible without going off the paper
- Then, you are going off as much twine as you think you need. Pro tip: I cut off about a foot longer than I needed to ensure I didn’t run out of space
- You then are going to slide your twine through the hole you created starting from the left corner and threading it down (to go behind the paper) and then thread it up to go into the second hole. You need to position this paper at the end of your twine because you will put the rest of your papers in front of it.
- Then will create a knot right by the first hole you threaded into (to keep the paper from moving) and then another knot by the second hole.
- You will start your next knot for the second paper about 4 inches from your last knot. You will then repeat steps 5-7 until you have put all of the papers on the twine.

- Then you are going to cut off any extra twine that you don’t need to use to hang up your banner.
You can tie up the end of your twine on a nail or command hook in however you wish. I wanted it nicer looking than a basic knot. So I looped the twine around my hand to get a good loop. I then tied the end of the twine to where it met tying it with a strong knot to ensure it wouldn’t untie.

There you have it!
Simple DIY Holiday Banner created on a Budget! You can use gift bags for any season or even patterned scrapbook paper.

